Sunday, August 22, 2010

S'mores cake. I mean, trifle.

This week I joined my co-workers at a Cubs game.  I'm sure it comes as absolutely no surprise that my favorite part of the game was when a dessert cart came to visit our suite.  It was loaded with deliciousness, but one treat jumped out at me immediately: a smores layer cake.  As I was digging in, I was thinking, "I bet I could make this."  And over the course of the next 10 minutes, two co-workers wandered over to tell me I should make a smores cake this weekend.  Never one to back down from a dessert request (though honestly, it felt a little more like a demand than a request), I set off to the internet and read dozens of recipes to find the perfect one. 

Once I settled on a recipe, I stopped off at the store to pick up some supplies.  And then I read dozens more recipes, and bought additional supplies. (Insert your own "boy, Katie sure has OCD" joke here.)  It's possible I bought more than necessary...


First up - mixing up a graham cracker cake & adding cocoa to half of it:


Placed those in the oven & moved on to the milk chocolate ganache, which started like this:


And then sat around for 5 minutes looking like this:


A few seconds into whisking, it looks terribly wrong:


And then with a few more spins of the whisk, it magically turned into this:


Why am I showing you so many pictures of ganache?  Because it was the most successful part of this recipe.  But more on that later...

Pulled the cakes out of the oven:


After letting them cool for 5 minutes, turned them out of their pans to cool completely - everything seems perfectly normal:


And then...disaster strikes.  I decided to split the cake layers so I could make my creation look as fancy as the dessert cart version.  And that's when I learned that the recipe I chose made an incredibly crumbly cake.  For those who have never split a cake layer, crumbly = bad.  One half of the plain graham cracker layer split in three pieces.  And then pieces of the chocolate layer started to fall off.  I sighed a few times.

Plan A: leave the split layers together as if I had never cut them in half.  Spread marshmallow fluff over top.  Fail.

Plan B: remove the top half of each layer and try to make a cake with the remaining half. Fail.

Plan C: ditch all hope of making a beautiful, fancy layer cake and dump everything into a bowl instead. Fail?  No. Success!  You know why? Milk chocolate ganache.  It makes all things perfect and wonderful.


Lessons learned and recipe thoughts:

1. I'm not even going to bother typing up this cake recipe.  No one should use it.  Ever.
2. Despite multiple disasters, Brett declared the cake "yummy!"
3. Smores trifle sounds ever so much nicer than, "yeah, the cake was all messed up, so I dumped everything in a bowl. Just eat it."

Sunday, August 15, 2010

Yellow cake with butterscotch and chocolate ganache

We had a pal over for dinner last night, and Chuck mentioned that he's been wanting to try a recipe for homemade butterscotch from one of his favorite books - Ratio: The Simple Codes Behind the Craft of Everyday Cooking.  I suggested we also make some chocolate sauce, so he thumbed through the book and found a recipe of chocolate ganache that can be used as a sauce when warm.  We picked up some vanilla ice cream, and were set.

Delicious!  But we barely made a dent in the nearly 4 cups worth of dessert sauce.  So then came the question...what on earth are we going to do with all this sauce?  Naturally, I immediately thought of how I could incorporate them into a cake.  And here's what I came up with - yellow cake topped with butterscotch and ganache.

Butterscotch slowly soaking in

Covered with ganache - I like to leave half without nuts for those who hate them :)

The butterscotch soaked in perfectly

I couldn't wait for the ganache to set - I dug right in. A lovely, rich cake.

Lessons learned and recipe thoughts:
  1. Ganache sounds fancy, but it is one of the easiest things I've ever made.  I'm pretty sad that it took me this long to discover it was so simple.  I might have to come up with an excuse to make it weekly.
  2. Store-bought butterscotch and homemade butterscotch are two entirely different beasts.  Good lord - the flavor was just amazing.  Another simple recipe that I will definitely be making again.
  3. It is a really good idea to make either of the above.  It's probably not a good idea to make them together.  Unless, of course, you have an office full of people to feed them to.
Here's how I pulled this cake together: I baked a yellow cake and let it cool for 10 minutes.  Then I poked holes all over the cake with a fork.  I spooned the butterscotch over the cake and let it soak in.  Once the cake cooled, I microwaved the ganache to soften it a bit, then poured it over the cake.  Simple!

Basic Ganache:

8 oz cream
8 oz bittersweet or semisweet chocolate, coarsely chopped

Bring the cream just to a simmer, pour it over the chocolate, wait 5 minutes for the chocolate to soften, then whisk the cream and chocolate until they're completely combined.  Serve immediately or chill until you're ready to serve. [Can be used as an ice cream sauce, chilled and rolled into truffles dusted with cocoa powder, or as a fudgelike icing on cake or brownies.]

Old-Fashioned Butterscotch Sauce

4 oz unsalted butter (1 stick)
8 oz dark brown sugar
8 oz cream
1 tsp vanilla extract
2 tsp apple cider vinegar
1/2 tsp salt, or to taste

In a heavy-bottomed saucepan or an enameled cast-iron pot, combine the butter and sugar over medium heat and cook until the sugar has melted completely and the mixture has taken on a thick and frothy lava-like appearance, 5-10 minutes.  Turn off the heat.  Whisk in the cream until it's thoroughly incorporated.  Let it cool for 10 minutes, then add the remaining ingredients.  Taste and adjust the seasoning.

Sunday, August 8, 2010

Fluffernutter Brownies

One of my favorite treats when I was a kid was fluffernutter sandwiches.  I had a jar of marshmallow fluff in my baking pantry & was inspired to try to recreate fluffernutters in brownie form. 

I started with a brownie mix, to which I added a cup of chocolate chips and a cup of peanut butter chips

Fresh out of the oven, I poured a bag of peanut butter chips over top

I let that sit for a few minutes, then spread the peanut butter chips with a spatula

I nuked a jar of marshmallow fluff for 20 seconds to soften it, then spread it on top the peanut butter

I was thinking our butane torch would be perfect for toasting the fluff. Chuck suggested I use the broiler instead.  And that's how I learned that marshmallow fluff is extremely flammable. That's right, the fluff actually caught on fire. It was pretty awesome.

I scraped off the burnt layer of fluff (it was actually yummy - tasted like a campfire) and then used my torch

Brett declared the fluffernutter brownies, "So yummy!"

Lessons learned and recipe thoughts:

1. Marshmallow fluff + broiler = raging fire.
2. Brownie mixes are supremely delicious when you replace the oil with a stick of melted butter. Even better when you add chocolate chips & a splash of vanilla to the batter.

Fluffernutter Brownies

Family size brownie mix (19.8 oz)
8 tbls (1 stick) unsalted butter, melted
1/3 cup water
2 large eggs
1 tsp vanilla
1 cup chocolate chips
3 cups peanut butter chips (1 1/2 bags)
1 jar marshmallow fluff

1. Preheat oven to 350. Grease and flour 9x13 pan
2. Place brownie mix, melted butter, water, eggs, and vanilla in a large mixing bowl. Stir with a wooden spoon until all the ingredients are incorporated and the batter lightens in texture, 50 strokes. Stir in chocolate chips and 1 cup peanut butter chips. Pour into the prepared pan, smoothing it out with a spatula.
3. Baking brownies until the outer 2 inches have formed a crust and feel firm, 23-27 minutes. Remove from oven and place on cooling rack.
4. Immediately pour 2 cups peanut butter chips over brownies. Let set 2-3 minutes til chips soften. Spread over brownies with spatula.
5. Microwave marshmallow fluff 20 seconds to soften. Spread with spatula over peanut butter layer.
6. Place back in oven to brown, watching closely; or use a butane torch to brown the fluff.

Sunday, August 1, 2010

Pina Colada Cake

A couple months back, Amazon.com suggested a book I might like: Booze Cakes: Confections Spiked with Spirits, Wine, and Beer. Amazon knows me well.  I'm fully expecting Amazon to start suggesting I'd like cases of vodka.  Anywho...

Brett Jr. headed off to a YMCA sleep-away camp this morning, so I figured this was the perfect time to make the pina colada cake I spotted when the book first arrived.  What I failed to realize was I didn't have enough flour to make the cake.  I didn't feel like driving four blocks to the grocery store, so I moved on to plan B - finding a recipe that used a cake mix as the base.

I searched the internet and found a few recipes that looked promising, and then I pulled out a stack of my baking cookbooks to see if there were any other worthy candidates.  Lo and behold, I discovered The America's Test Kitchen Family Baking Book had a section of recipes that start with mixes...and one of those recipes was for pina colada cake. Huzzah!

Toasted coconut fresh from the oven

Problem: I bought too much cream of coconut. Solution: make pina coladas

After downing a pina colada, I frosted the cake and covered it with crushed pineapple & coconut 

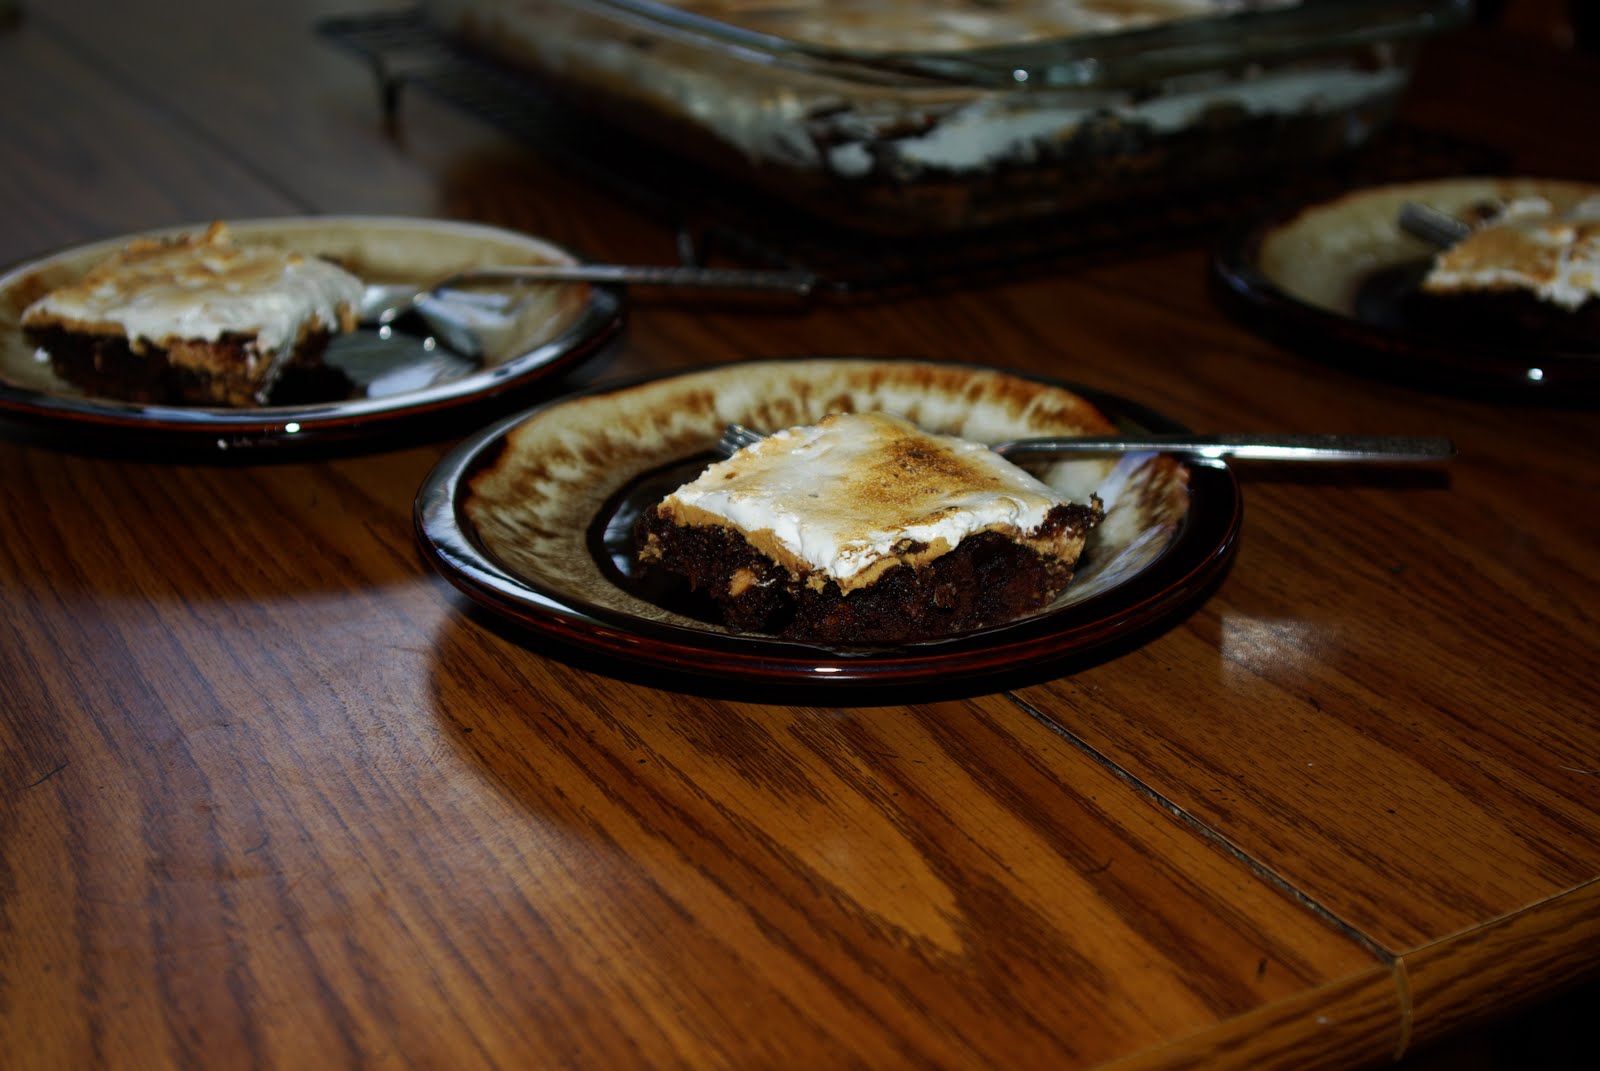
I declare this cake yum


Lessons learned and recipe thoughts:

1. I usually follow baking recipes exactly the first time I make them.  But recipes made with cake mixes tend to be pretty forgiving.  So I made a few modifications: I substituted coconut rum for the dark rum, and a white cake mix for yellow (only because I discovered I was also out of yellow cake mix...seriously, what's going on with my baking pantry?!).  And since I was too lazy to drive to the store for flour, it probably comes as no surprise that I was also too lazy to drive to the store for fresh pineapple or sliced canned pineapple.  I had cans of crushed pineapple, and figured those would work just as well.

2. I didn't feel like making a layer cake, so I used a 9x13 pan and increased the baking time to 40 minutes.  I also toasted an extra 1/2 cup of coconut so I'd have enough to cover it.  This cake batter was very thick, which resulted in a rather dense cake.  I think it would have come out a little lighter had I baked it in the 9 inch pans the recipe called for.  Regardless, it was good. :)

Pina Colada Layer Cake

7 oz sweetened shredded coconut (toast for 6-8 minutes, stirring regularly)
1 (18.25 oz) box yellow cake mix
1 (15 oz) can cream of coconut (like Coco Lopez; NOT coconut milk)
1/4 cup dark rum
3 large eggs
8 oz cream cheese, softened
6 tbls (3/4 stick) unsalted butter, softened
1 cup powdered sugar
1/2 pound peeled and cored fresh pineapple, sliced into 1/4 inch rings (can substitute one 20 oz can of sliced pineapples, drained and patted dry)

1. Preheat oven to 350.  Toast coconut in a rimmed cookie sheet for 6-8 minutes, stirring regularly, until golden brown.  Grease and flour two 9 inch cake pans, then line the bottoms with parchment paper. Measure and reserve 1/2 cup of the toasted coconut for garnishing.

2. Process the remaining coconut in a food processor until very finely ground, about 15 seconds.  Transfer the processed coconut to a large bowl and sift the cake mix over the top (note: I just placed the cake mix in the bowl first and whisked it a bit to break up lumps). Whisk in 1 1/4 cups of the cream of coconut, rum, and eggs until incorporated.  Give the batter a final stir with a rubber spatula to make sure it is thoroughly combined.

3. Scrape the batter into the prepared pans and smooth the tops.  Bake the cakes until a toothpick inserted in the center comes out with a few crumbs attached, about 20 minutes, rotating pans halfway through baking.

4. Let the cakes cool in the pans for 10 minutes. Run a small knife around the edge of the cakes then flip them out onto a wire rack. Peel off the parchment paper, flip the cakes upright, and let cool completely, 1-2 hours.

5. Meanwhile, mix the remaining cream of coconut, cream cheese, butter, and powdered sugar in a medium bowl until smooth.  Refrigerate until reach to use.

6. Place one cake layer on a platter, spread half the cream cheese frosting over the cake, leaving 1/4 inch border at the edge.

7. Place the second cake layer on top and press lightly to adhere.  Spread the remaining frosting over the top (leaving the sides of the cake bare). Arrange the pineapple rings attractively over the top of the cake, then sprinkle with the reserved toasted coconut.